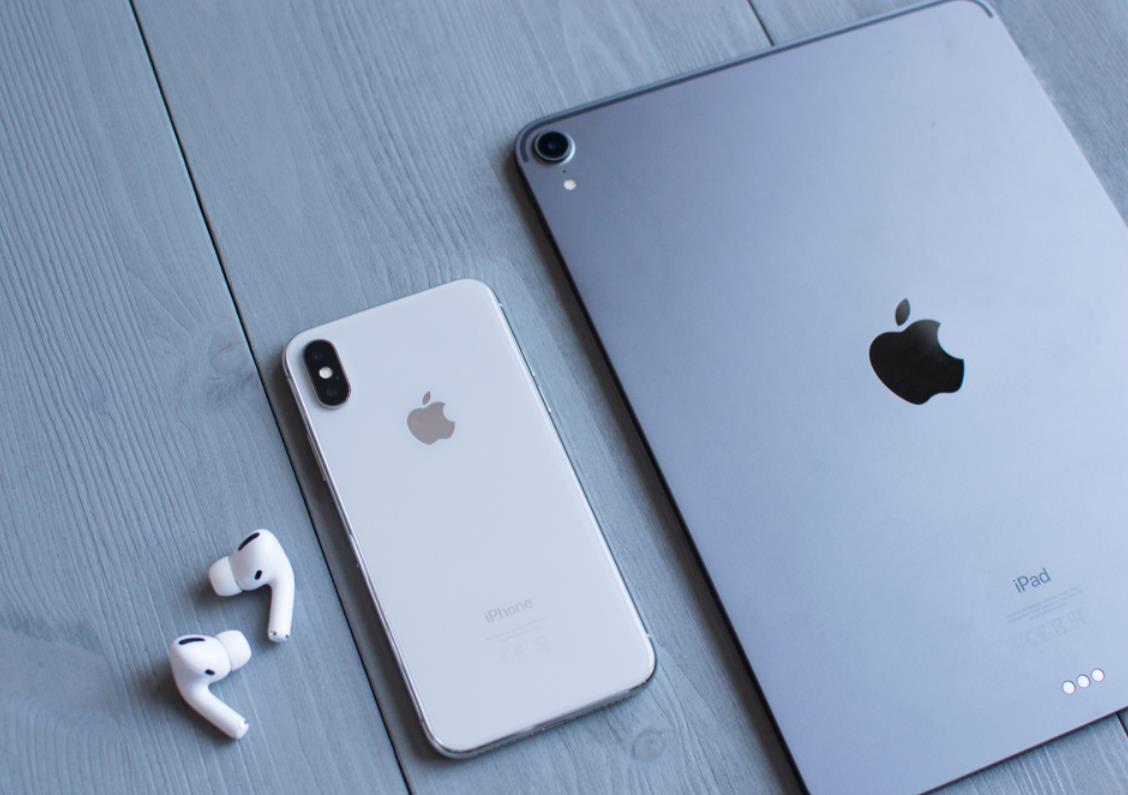
There’s this thing about getting used to connecting AirPods to your iPhone only rather than with your iPad or MacBook.
But before I go into details, I’d like to share a personal experience with you because I can relate to what it feels like being stuck on connecting to the iPad and MacBook.
It would have been a different scenario if I had not experienced such but then, I’d be kind to let you know that I’ve had my fair share of experience too.
In the past, I would rather prefer to listen to music, podcast, binge watch my favorite tv series or join a skype or zoom meeting on my iPhone.
I had always felt awkward while among my colleagues at work and we have to hold an in-house zoom meeting because I didn’t know how to connect my AirPods to my MacBook.
On one of my episodes of awkward moments, I had an impromptu meeting to join but my phone was nowhere in sight, despite having my MacBook sitting on my desk in front of me, I scampered and ended up scattering my work table just to find my phone – it was that bad.
However, one day, the story changed, and that marked a turning point and eventually erased my fears about connecting my phone with my iPad or MacBook
Like me, some folks would rather prefer to watch a movie on their iPhone rather than on their iPad or MacBook because connecting AirPods to the latter feels like stress to them.
If you have your iPhone and yet you side-line your iPad or MacBook during a meeting session just to join by connecting your AirPods to your phone?
Get in here if you’ve been avoiding connecting your AirPods to your iPad or MacBook. This article contains some life-changing tips that could help get rid of the stress so, it doesn’t feel weird the next time when you need to connect to your iPad or MacBook.
Let me take you on a jolly ride as I teach you the steps on how to connect your AirPods to your MacBook or iPad. Don’t forget to bring some yummies to munch on – you’d need it.
Let’s dive right in. Enjoy!
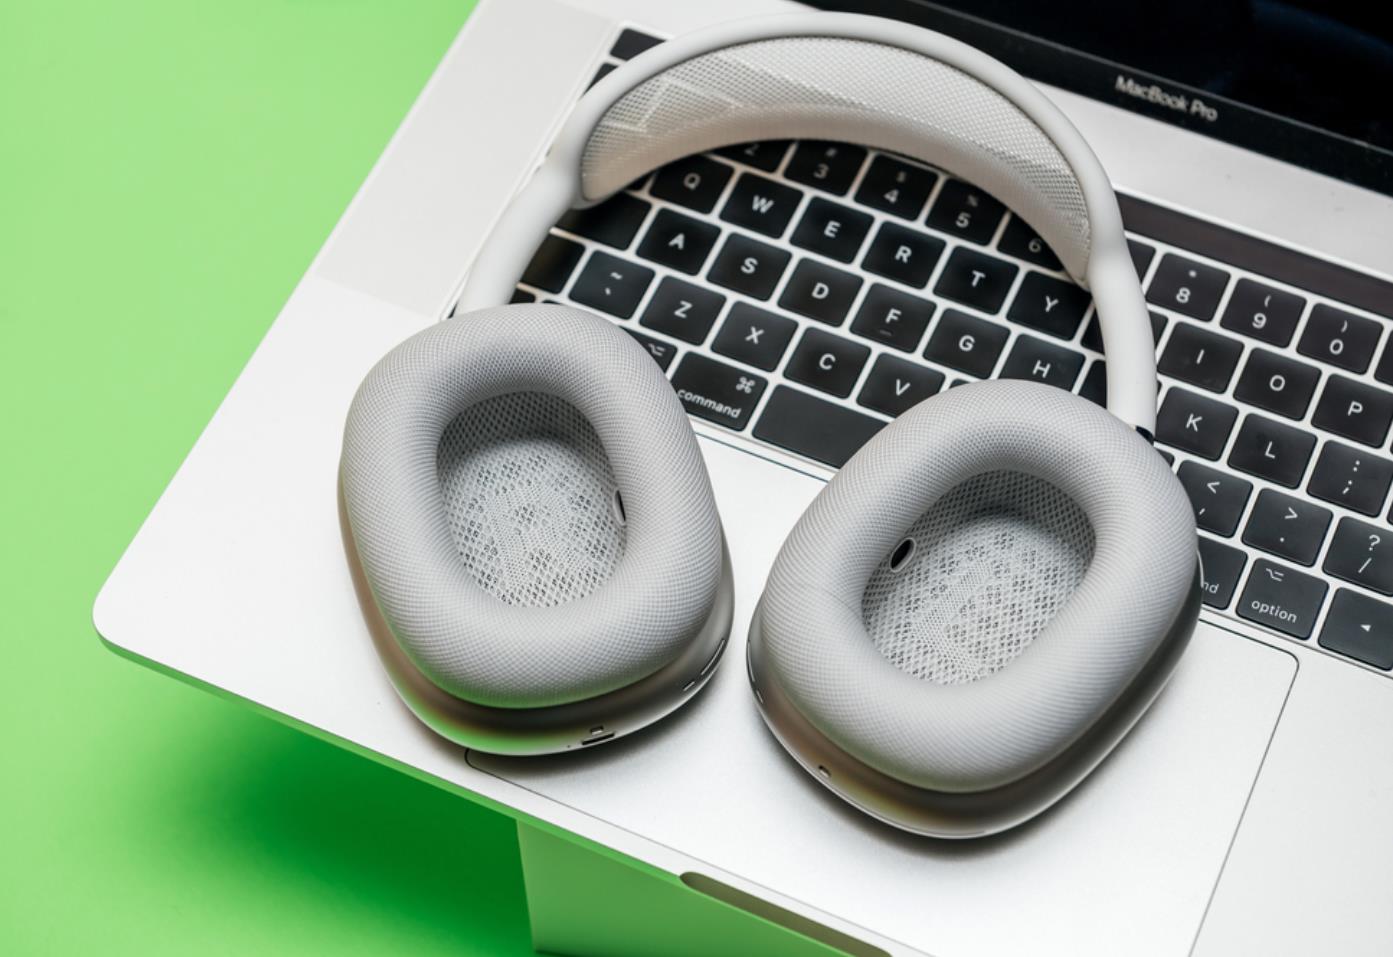
How to Connect AirPods to MacBook
Just as a reminder, there is so much you can achieve using your AirPods; You can use your AirPods to listen to music, use Siri, or take phone calls while they’re close and ready to use with your Mac.
However, if you have your AirPods paired with your iPhone, there are certain things you should know before connecting with your MacBook.
Your AirPods are ready to use with your Mac if you’ve already connected them to your iPhone (your Mac must support Handoff and you must be signed in to iCloud using the same Apple ID).
Here are the steps to follow if your AirPods are paired with iPhone before connecting with your MacBook;
- Remove the AirPods from their case.
- Select AirPodsfrom the Sound control option in your Mac’s menu bar.
If your AirPods aren’t connected to your iPhone, you can use your Mac to connect them.
- Open the cover of your AirPods case with your AirPods
- When the status light flashes white, press and hold either the set-up button on the back of the case or the noise control button (on AirPodsMax only).
- Choose Apple menu > System Preferences, then Bluetooth on your Mac.
- In the Devices list, choose AirPods.
- If your AirPodssupport it, click Enable to start utilizing Siri with your AirPods by saying “Hey Siri.”
- If you’re asked how you’d like to improve Siri and Dictation, choose one of the following options:
- Audio recordings should be shared: Allow Apple to save the audio of your Siri and dictation interactions on this Mac by clicking Share Audio Recordings. Apple may examine a sample of audio that has been saved.
- Audio recordings should not be shared: Select the ‘Not Now’ menu.
Select or deselect the Improve Siri and dictation tick box in the analytics and improvements section of Privacy choices if you decide to change your preference and want to share or stop sharing audio recordings.
However, it is important to note that you can delete the audio recordings from Apple servers at any time; see Delete Siri and Dictation history for more information.
Change noise control modes on AirPods from your Mac
While listening to audio from your Mac on AirPods Pro or AirPods Max, toggle between noise cancellation and transparency modes.
- Choose one of the following options after clicking the AirPodsPro or AirPods Max symbol in the menu bar or Control Centre:
- External noise is blocked through noise cancellation.
- Transparency allows you to hear what’s going on around you.
- Off: Both noise cancellation and transparency are disabled.
Choose Apple menu > System Preferences, then click Sound if the AirPods Pro or AirPods Max icon isn’t on the menu bar. Tick the option that says “Show Sound in Menu Bar.” You can choose whether Sound is displayed in the menu bar all of the time or only when it is active using the drop-down menu.
In some cases, you may need to reset your AirPods and here’s how you can do that;
How to reset your AirPods
If your AirPods aren’t charging or aren’t working properly, you may need to reset them.
- Close the lid on your charging case and place your AirPods
- Wait 30 seconds before continuing.
- Remove the lid from your charging case and open it.
- Go to Settings > Bluetooth on your iPhone, iPad, or iPod touch, and hit the More Info button next to your AirPods. (If your AirPodsaren’t visible in Settings > Bluetooth, skip to the next step.)
- To confirm, tap Forget This Device once again.
- Press and hold the setup button on the back of the case for around 15 seconds, until the status light flashes amber, then white, with the lid open.
- Reconnect your AirPodsby doing the following: Place your AirPods near your iPhone, iPad, or iPod touch with the lid open and your AirPods in their charging case. Follow the instructions on the screen of your device.
There you have it. Hopefully, this helps ease the stress.


